The microwave is a handy appliance in any RV kitchen, providing quick and convenient cooking options while you're on the road. However, like all appliances, microwaves can wear out or malfunction over time. If you find yourself in need of a microwave replacement during your RV journey, this guide will walk you through the steps to ensure a smooth transition and get you back to enjoying hot meals on the go.
1.
Assessment and Measurement
Before you begin your microwave replacement process, assess the size and dimensions of the existing microwave. Measure the width, height, and depth of the microwave cabinet space to ensure your new microwave will fit snugly.
2.
Power Source Compatibility
Check the power requirements of your new microwave. Ensure that your RV's electrical system can handle the microwave's power needs. If necessary, consult your RV's manual or an electrician to make any required adjustments or upgrades.
3.
Selecting the Right Microwave
When choosing a replacement microwave, consider factors like size, wattage, and features. Opt for a microwave that fits comfortably in the existing cabinet space and has the power and features you need for your cooking preferences.
4.
Safety First
Before starting the replacement process, ensure the RV is unplugged from shore power or disconnected from its power source to prevent electrical accidents. Safety should always be the top priority during any appliance replacement.
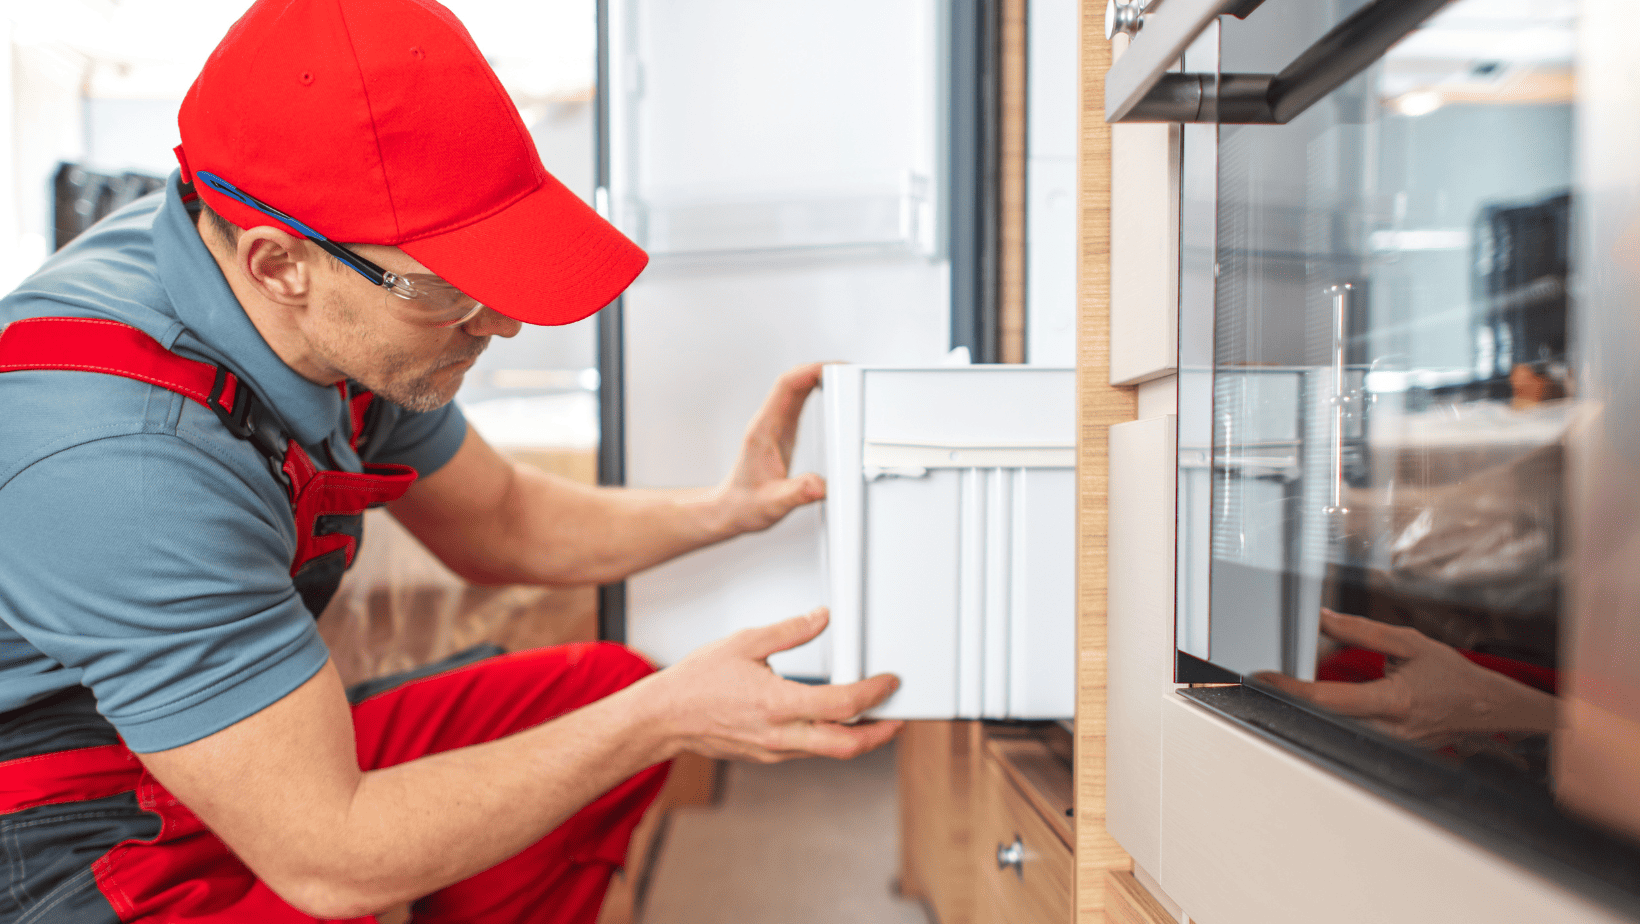
5.
Removal of the Old Microwave
To remove the old microwave, follow these steps:
- Open the microwave cabinet door and locate the mounting screws securing the microwave to the cabinet or RV wall.
- Carefully unscrew and remove the mounting screws, ensuring the microwave is well-supported as you do so.
- Once the screws are removed, gently slide the old microwave out of its cabinet space.
- Disconnect the microwave's power supply, ensuring all electrical connections are safely detached.
6.
Installation of the New Microwave
To install the new microwave, follow these steps:
- Begin by connecting the new microwave's power supply according to the manufacturer's instructions. This typically involves matching the wires and securing them with wire nuts or connectors.
- Carefully slide the new microwave into the cabinet space, ensuring it's level and centered.
- Secure the microwave in place by fastening it to the cabinet or wall using the mounting screws provided with the new microwave. Be sure to follow the manufacturer's guidelines for proper installation.
- Test the microwave to ensure it functions correctly and heats food evenly.
7.
Final Checks and Adjustments
After the installation is complete, take the following steps:
- Double-check that all electrical connections are secure and there are no loose wires.
- Test the microwave by heating a small cup of water to ensure it operates without issues.
- Check that the microwave's door seals properly and there are no gaps or leaks.
- Ensure the microwave's exhaust fan and venting are functioning correctly, especially if your microwave is also a range hood.
8.
Safety and Maintenance
Once your new microwave is in place, maintain it by regularly cleaning the interior, exterior, and vents. Follow the manufacturer's guidelines for cleaning and maintenance to ensure its longevity and optimal performance.
Conclusion
Replacing your microwave in your RV while on the road is a manageable task with the right preparation and safety measures. By assessing your space, selecting the right microwave, and following the installation steps carefully, you can enjoy the convenience of a fully functional microwave during your RV adventures. Whether you're heating up leftovers, making popcorn for a movie night, or preparing quick meals on the go, your new microwave will be a valuable addition to your RV kitchen. Safe travels and happy cooking!