Maintaining your RV's sanitation system is a crucial aspect of enjoyable and stress-free camping experiences. Among the essential components is the black tank, which stores human waste and wastewater from your RV's toilet. Regularly cleaning your RV's black tank is essential for preventing odors and ensuring the proper functioning of your plumbing system. In this guide, we'll walk you through three simple steps to clean your RV black tank effectively.
 Step 1: Gather Your Supplies
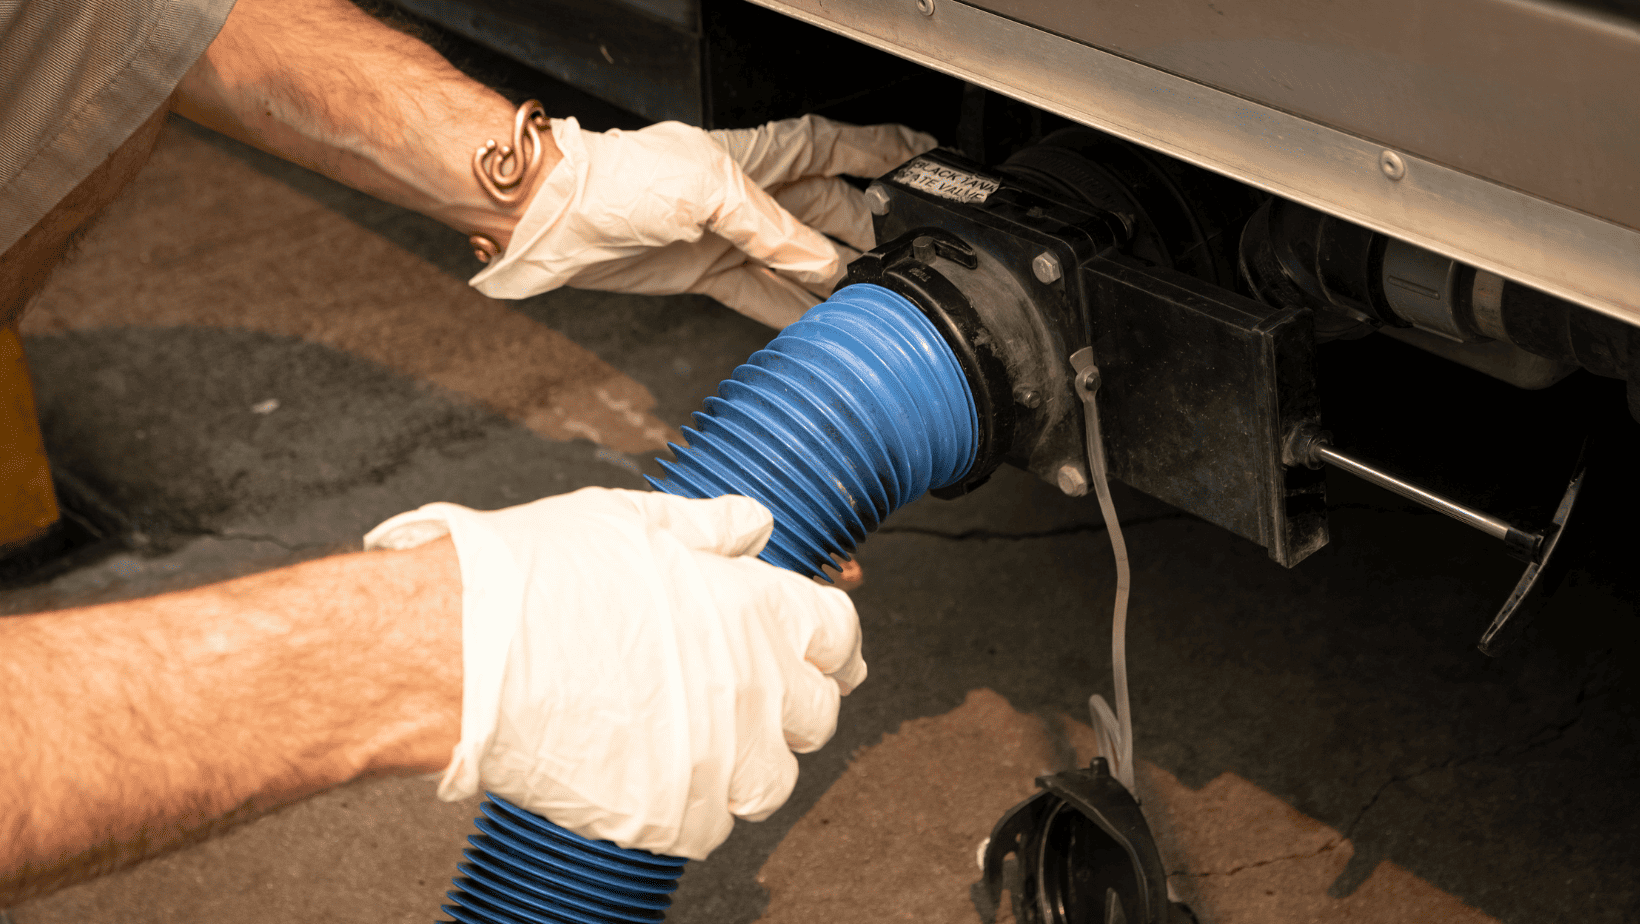
Before you begin, ensure you have all the necessary supplies at hand:
- RV Sewer Hose: A high-quality sewer hose is essential for emptying the black tank.
- Disposable Gloves: Protect your hands with disposable gloves.
- Tank Rinse Hose: A tank rinse hose helps flush out the tank thoroughly.
- RV-Safe Toilet Chemicals: Choose RV-specific chemicals to break down waste and reduce odors.
- Water Hose: You'll need a separate hose for clean water, not the one used for your sewer hose.
Step 2: Empty and Flush the Black Tank
Follow these steps to empty and flush your RV's black tank:
- Park Your RV: Ensure your RV is parked at a designated dump station or campsite with sewer connections.
- Prepare the Sewer Hose: Connect the sewer hose to your RV's black tank outlet. Make sure it's securely attached, and wear disposable gloves for hygiene.
- Open the Black Tank Valve: Carefully open the black tank valve, allowing the contents to flow into the sewer system. It's crucial to empty the tank fully.
- Rinse the Tank: After emptying, close the black tank valve. Connect the tank rinse hose to the appropriate inlet on your RV, if available. Turn on the water and allow it to flow into the black tank. The rinse water will help dislodge any remaining waste and clean the tank thoroughly. Rinse for several minutes or until the water runs clear.
- Add RV-Safe Chemicals: Following the manufacturer's instructions, add the appropriate amount of RV-safe toilet chemicals to the black tank. These chemicals help break down waste and control odors.
Step 3: Final Rinse and Tank Maintenance
To complete the cleaning process and maintain your black tank:
- Empty the Gray Tank: After cleaning the black tank, it's a good practice to empty the gray tank as well. This tank contains wastewater from sinks and showers and can help flush any residual waste from the sewer hose.
- Store Your Supplies: Disconnect the sewer hose, rinse it thoroughly, and store it in a designated container. Also, store your disposable gloves and other supplies in a separate storage compartment to avoid cross-contamination.
- Regular Maintenance: To keep your black tank clean, add RV-safe chemicals regularly and maintain a routine of thorough tank cleaning every few weeks or as needed.
- Monitor Tank Levels: Keep an eye on your black tank's level indicator to avoid overfilling. Never allow the tank to become too full, as this can lead to issues with the plumbing system.
By following these three simple steps and maintaining a regular cleaning schedule, you can ensure that your RV's black tank remains odor-free and trouble-free. Proper sanitation system maintenance is essential for a pleasant and worry-free RV camping experience.